
Optimizing Our Van Layout for Ultimate Travel Comfort
For those who have followed our van adventures, you know that layout optimization is key to a smooth and enjoyable travel experience. After a few years of trial and error, we’re now refining our van setup to be more efficient for two, possibly three travelers. Here’s our thought process behind the new layout and why we’re making these changes.
Maximizing Space & Functionality
We’re shifting things around to ensure that everything we need is easily accessible, especially when we’re at a campsite. Our new layout keeps the living area functional and practical:
- Bed at the back with garage storage underneath – This keeps our sleeping area separate from the main living space while maximizing storage.
- Cooker at the sliding door instead of the back – This aligns with how we use the van, making it easier to cook while enjoying the view under the awning.
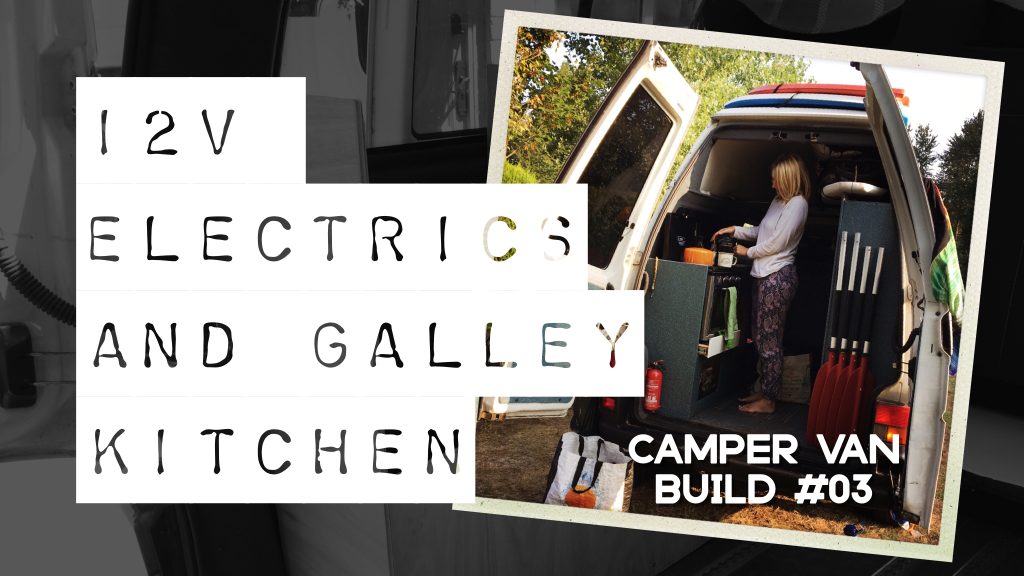
- Fridge positioned for easy access – We’ve opted for an LP Cool combination fridge/freezer with an LG compressor, which has incredibly low power consumption—perfect for van life.
- Portable toilet at the front – Previously, we stored it in a cabinet, but pulling it in and out was a hassle. Now, it will be easily accessible whenever needed, especially during travel.
Upgrading Key Components
We’ve made a few essential upgrades to improve power management and efficiency:
- Switching from lead-acid to lithium batteries – Our old lead-acid battery died, so we’re moving the leisure battery from under the bonnet to the habitation area and upgrading to lithium for better performance.
- Adding a portable power station – We’re using a CTE portable power station, which has all its connections conveniently located on the front face. It’s compact and can be stored anywhere in the van.
- New energy-efficient fridge – Our previous Dometic absorption fridge drained our battery quickly. The new LP Cool fridge/freezer is much more energy-efficient, making it a great upgrade.
Why We’re Not Using a Rock-and-Roll Bed
Many van builds incorporate a 3/4 rock-and-roll bed, but after testing this setup, we found it wasn’t ideal for our needs:
- Limited storage underneath – The previous setup didn’t allow enough clearance for our paddleboards, kayaks, or even the portable toilet.
- Inaccessible cabinets – When the rock-and-roll bed was extended, it blocked access to certain cabinets along the side of the van.
- Wasted vertical space – With a high-roof van, we realized a raised, fold-out bed would maximize storage while keeping the living area open during the day.
The New Bed Setup: Flexible & Functional
Instead of a rock-and-roll bed, we’re going with an extendable elevated bed. This design provides multiple benefits:
- Storage space remains accessible – Bikes, kayaks, and other gear can be stored underneath without obstruction.
- The bed doubles as a daybed – It can be used as a lounge space when closed, perfect for relaxing or taking in the view.
- The kitchen and toilet remain fully accessible – No more struggling to access essentials when the bed is in use.
Final Thoughts
This new layout is all about efficiency, accessibility, and maximizing our van’s space. By optimizing storage, improving our power system, and choosing a more functional bed setup, we’re making our van a more comfortable and practical home on wheels.
Now that we have the plan, it’s time to build! Stay tuned for the next video where we put it all together. If you enjoyed this post, give it a thumbs-up, subscribe to the channel, and follow along as we refine our ultimate adventure van.
Happy travels!