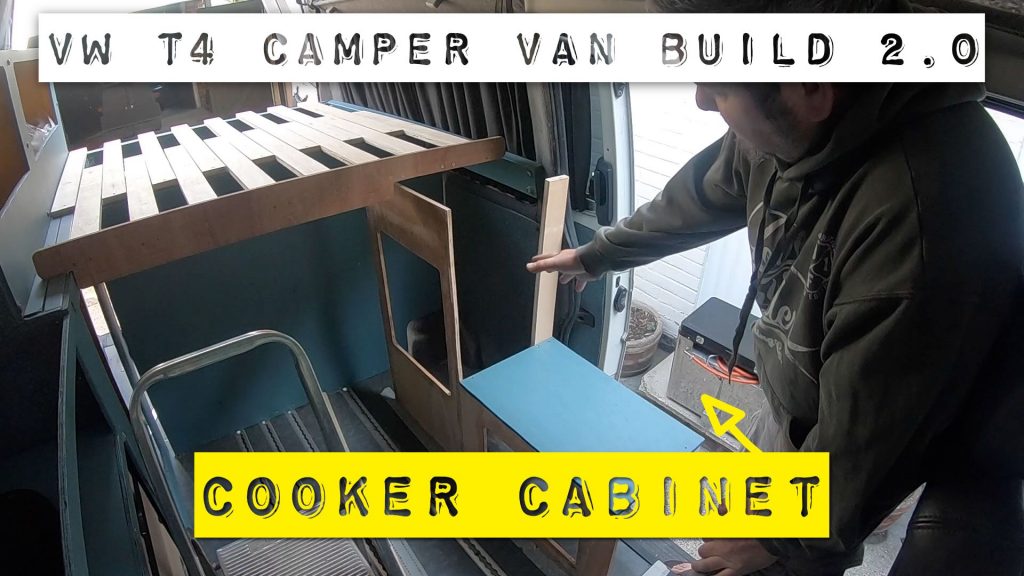
With the sliding bed installed and tested, the next challenge in my campervan conversion was to build a compact, functional kitchen cabinet. This unit would house the cooker, provide storage, and serve as a structural support when the bed is extended. Everything had to fit just right.
Designing the Cooker Cabinet
The first step was mocking up the layout to ensure the cooker and storage would fit neatly into the available space. The cooker I’m using is a Camper Master Chef, a reliable unit we’ve used before.
Since this cabinet was previously a sliding drawer, I had to modify it—fixing it in place at the right height so the extended bed could rest on it. An added benefit? The cooker will be rotatable, allowing it to be used both inside and outside the van, maximizing space and ventilation.
Cutting & Assembling the Cabinet
Once the design was finalized, I transferred the dimensions onto a fresh piece of 12mm plywood and cut out the necessary openings using my new router—a tool that’s quickly becoming a favorite in this build.
After cutting and assembling, the cooker cabinet was installed. It slightly overlaps the door, but that’s intentional—every inch of space counts in a camper build.
Final Touches: Worktop & Sink Installation
With the cooker cabinet in place, I installed the worktop and sink. The plumbing still needs to be connected, but otherwise, the layout is coming together perfectly. Beneath the sink, I’ve fitted both the fridge and the porta potty, making the most of the available space.
Next Steps: Enjoying the Build!
Now that everything is in place and functioning as planned, it’s time to crack open a cold beer and head for a swim in the sea. After all, that’s what van life is all about!
If you enjoyed this update, give it a thumbs up, subscribe, and stick around for the next phase of the build.
Happy Days! 🚐☀️