Welcome back to the next stage of my camper van conversion! A lot has happened behind the scenes—I had to pause while waiting for new memory cards from Amazon (which, of course, arrived later than expected). But now, I’m back on track, and I’ve made some serious progress on both the kitchen area and the sliding bed system.
Kitchen Cabinet & Storage Upgrades
The top cabinet is now complete, and I’ve also carpeted the floor in the clothing storage area and pantry section. The pantry now has a rubber-grip shelf, perfect for keeping things secure while driving.
One of the biggest additions is the installation of sliding drawers/trays for the LP Cool compressor fridge and the Porta Potti. These both slide out smoothly, but I did have to raise them slightly so they would clear the unwin rails.
However, I ran into a small issue: the added height meant I had to trim the front fascia to fit properly. It’s a tight squeeze, with only millimeters to spare, but everything slides out perfectly. Now, I just need to add a locking mechanism because the weight of both the fridge and toilet is too much for the current latch—it tends to slide out when turning corners!
Time to Build the Bed
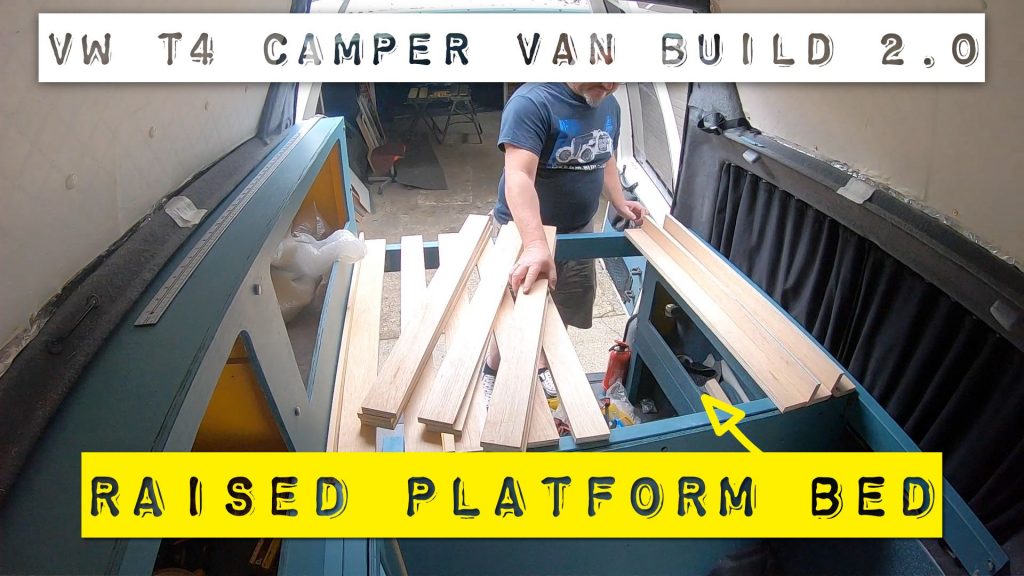
Now onto the most important part of the build—the bed. Because, well, you can’t camp without somewhere to sleep!
I had all my bed slats pre-cut to 90 cm lengths from 18mm hardwood plywood. The design is a sliding bed system, where every other slat extends to create a full-length 1.8m sleeping surface. That’s more than enough room for us, considering we’re both 5’8″ and under.
Assembling & Testing the Sliding Bed
The concept is simple:
- When extended, the slats slide forward and rest on supporting structures on both sides of the van.
- I adjusted the spacing to 3mm and even managed to squeeze in three additional slats for better support.
- The final test? Pulling it out for the first time!
And guess what? It works perfectly.
With my trusted witness (and fellow painter) watching, I gave it a test run. It extended smoothly and rested securely on the support frames. I’ll need to add a guide rail to keep it level, but the theory is now proven!
Next Steps: Kitchen Cabinet & Cooker Setup
Now that the bed works, the next step is to build a storage cabinet next to it, which will also house the cooker. The layout is coming together exactly as planned!
If you enjoyed this update, don’t forget to like the video, subscribe to the channel, and stay tuned for the next stage of the build.
Happy Days! 🚐💨