A Perfect Color Match for the Cabinets
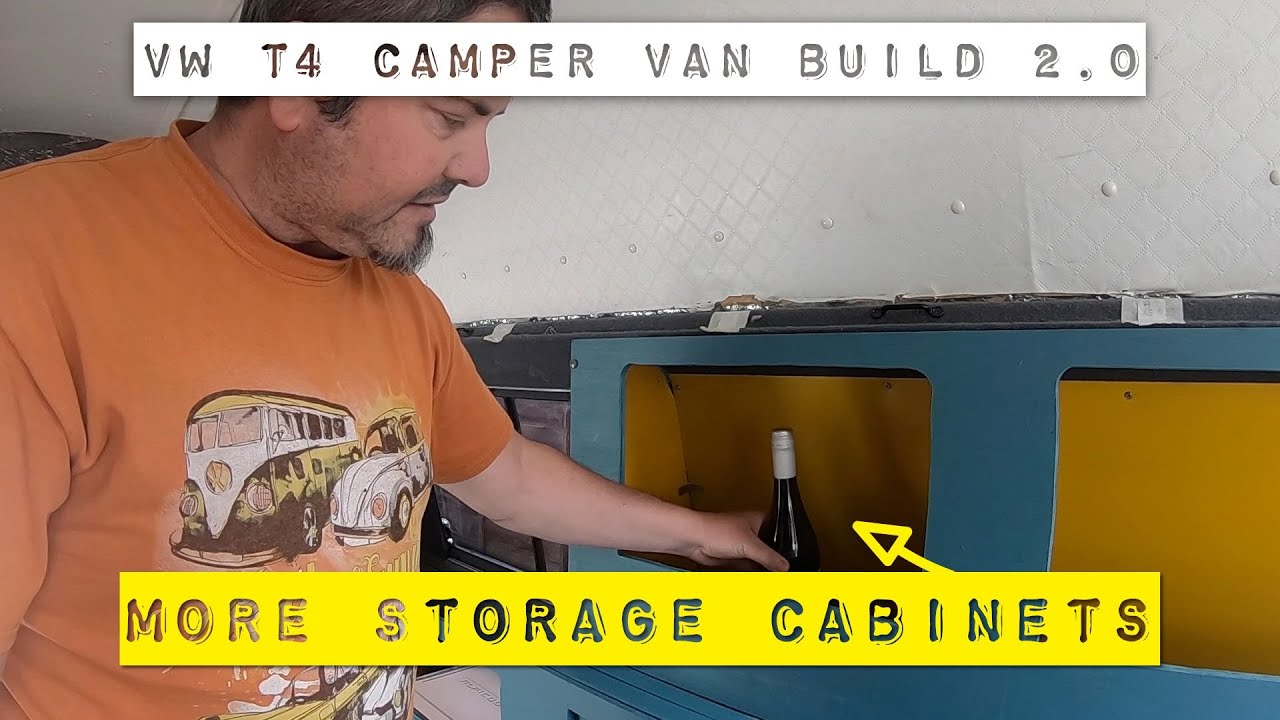
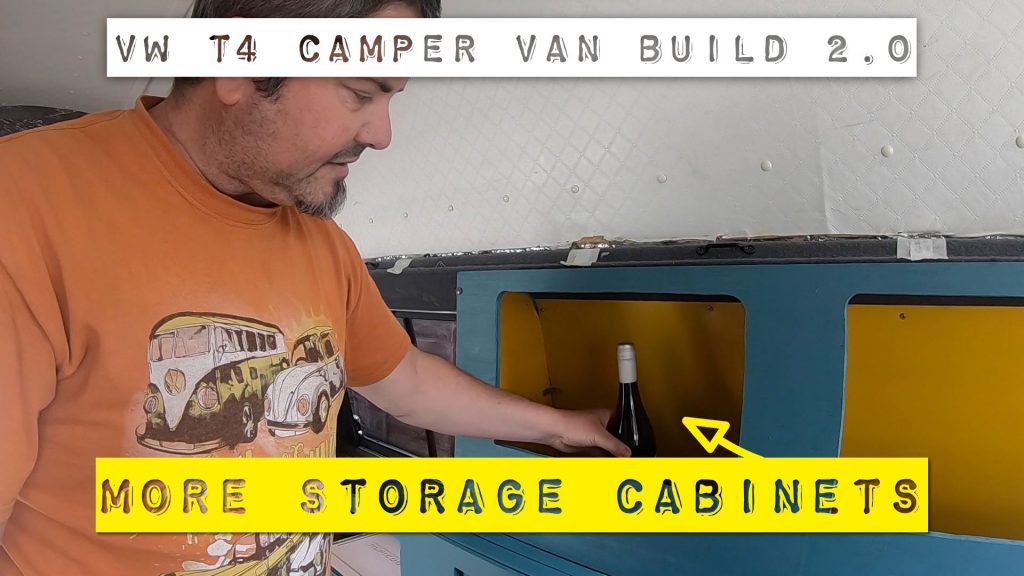
The next stage of the bed cabinet build is coming along nicely! The structural integrity is solid, and the recent color change was an excellent decision. The new shade perfectly complements the vinyl panels on the van’s interior. A special touch is the bright yellow inside the cabinets, which will make the storage spaces pop when the doors are opened.
Adjustments to the Cabinet Fascia
A minor change of plans was necessary for the main cabinet fascia. Initially, a small support leg was supposed to separate the toilet door from the fridge, but it turns out the fridge is slightly wider than advertised. To accommodate this, I had to remove the support leg and now plan to fabricate a sliding mechanism for the two units instead.
Additionally, I reconsidered the cabinet doors. The original plan was to have two swing-out doors, but due to the likelihood of a seat being installed in the center of the van, those doors wouldn’t be functional. Instead, I opted for a tambour-style sliding door, which will move upwards for easy access, regardless of the seat placement.
Cabinet Cutting and Shelf Considerations
With the plan adjusted, I moved on to cutting the necessary openings in the cabinet panels. To ensure straight cuts, I used a plunge-cut technique with a circular saw. The new cabinet placement includes:
- A cupboard next to the kitchen side
- A cupboard above the bed, with 15 cm of clearance to accommodate the mattress and bedding
For the bedroom cabinet, I debated whether to add a shelf. A full-width shelf would limit access to deeper storage areas, especially for bulkier clothing. For now, I’m keeping it open for maximum storage space, but I might install a net for organizing smaller items like socks and underwear.
Smart Kitchen and Storage Design
Progress continued with the kitchen cabinets and additional shelving. I installed a small divider shelf to maximize pantry storage, ensuring practical use of vertical space. To determine the ideal shelf height, I used the “wine bottle test”—ensuring enough clearance for standard-sized bottles, a crucial design consideration!
For the left-hand garage cabinet, I added a carpeted lower shelf and repurposed some patterned vinyl to cover the shelf face. There’s also room for an extra shelf at the top if needed. Storage space is critical in a van build, and I’m pleased with how efficiently I’ve utilized the available areas.
The Cleverest Drawer Slide Design Yet
One of my favorite modifications in this build is the slimline dual drawer slide solution for the fridge and toilet. Instead of using bulky 18mm wooden dividers, I implemented an aluminum angle bracket, just 3.2mm thick. By attaching M5 T-slot nuts and Allen head screws to the runners, I created a lightweight but sturdy drawer system that doesn’t waste valuable space. Now, the fridge and toilet can sit side by side without a large divider taking up room.
Wrapping Up
The camper van transformation is really coming together. The garage storage is functional, the kitchen layout is taking shape, and I’ve managed to implement some clever solutions for maximizing space. There’s still plenty of work ahead, but I’m thrilled with the progress so far.
If you enjoyed this update, give it a thumbs up, subscribe to the channel, and stick around for the next video. Thanks for following along—Happy Days!