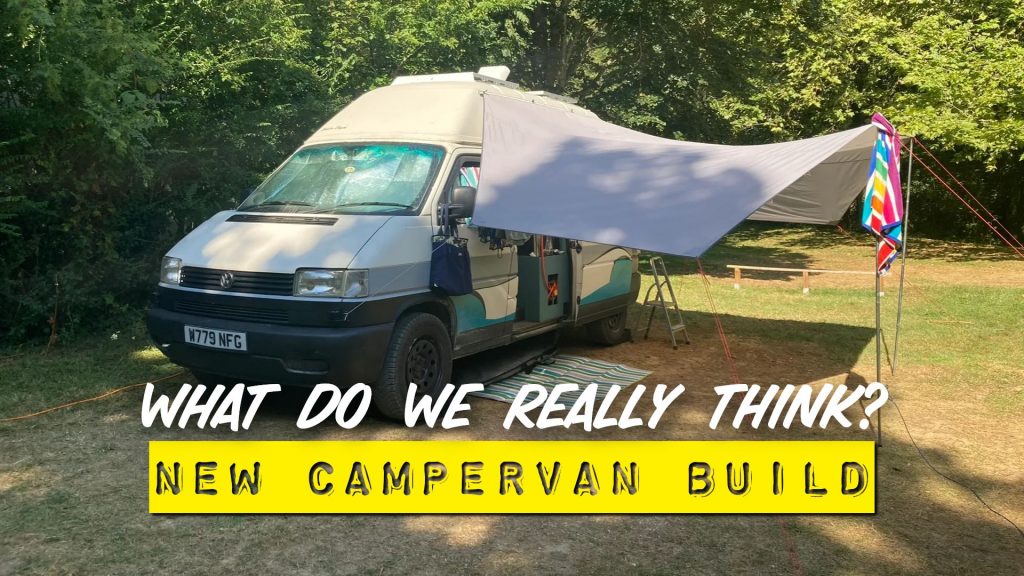
After more than two weeks on the road testing our new camper van layout, we’ve gathered plenty of insights into what works, what doesn’t, and what needs tweaking. Before heading back to the UK, I wanted to give you a brief rundown of our experiences, the key improvements, and some unexpected revelations from this trip.
The Breakdown & Repair
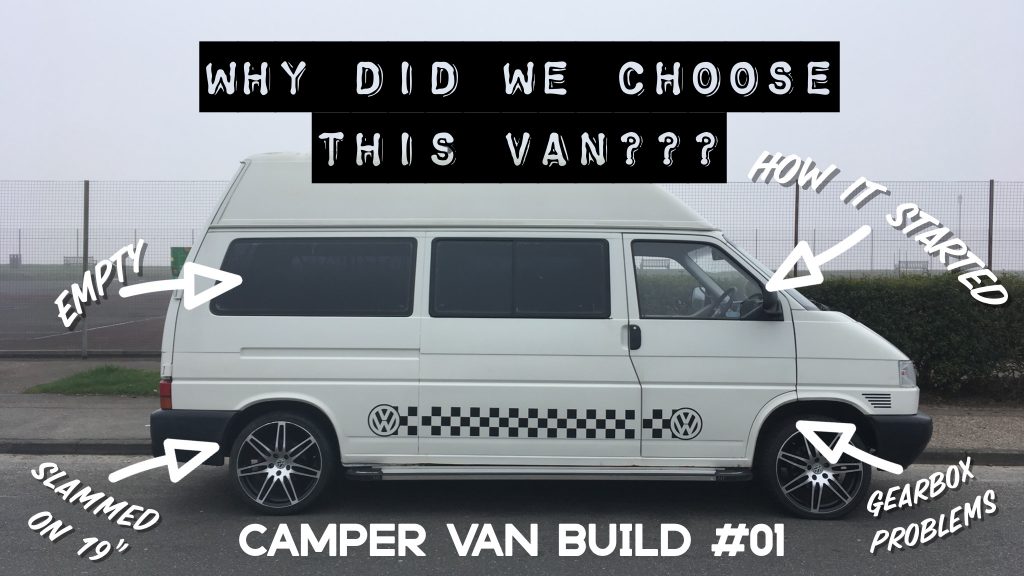
Our adventure began with a bit of a setback—a breakdown at a beachside campsite on the Mediterranean coast of France, north of Montpellier, near Agde. The culprit? A seized air conditioning compressor, which prevented the engine from turning over and, in turn, burnt out the starter motor.
To get the van running again, I had to:
- Remove the AC compressor
- Fit a shorter auxiliary belt
- Buy and replace the starter motor
Fortunately, these fixes got us back on the road, allowing us to continue through the Pyrenees, the southwest coast, and the Douro Valley. If you own a VW T4 van, this is definitely worth a watch—check out the full breakdown story via the link in the description.
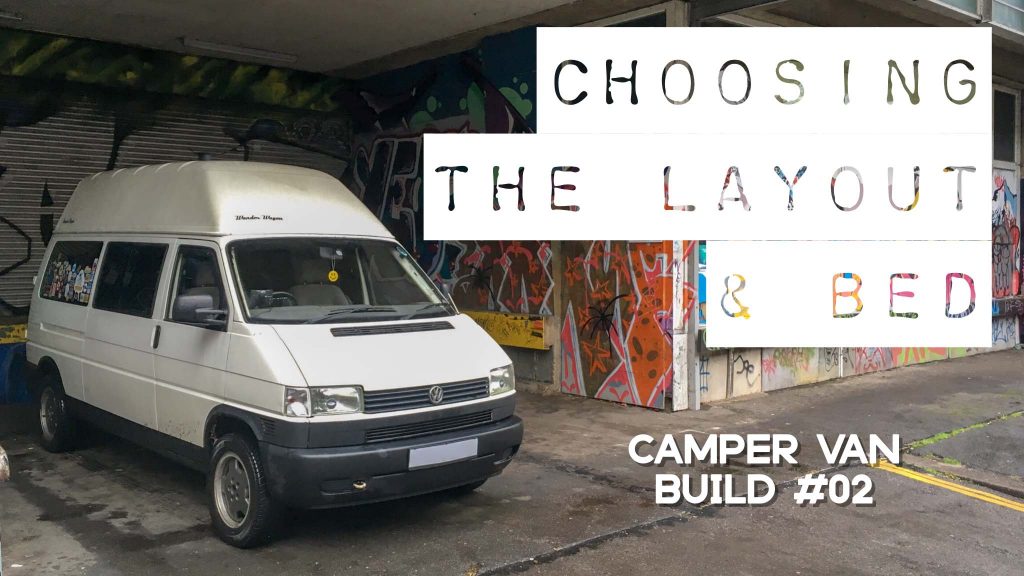
New Layout: Initial Impressions
The new layout has been a great change for us as a couple, though it has some drawbacks for additional passengers. Here’s what we learned:
- 🚍 Seating: The single seat I installed—sourced from a school minibus—is not very comfortable and too small for two adults. I’ll need to rethink this if we plan to carry more passengers in the future.
- 🛏 Bed System: The new slide-out bed has been a massive success. It features a 5-inch mattress (4 inches of reflex foam + 1 inch of memory foam), making it super comfortable.
- 👕 Storage & Packing Cubes: We discovered packing cubes, and they’ve been a game-changer. Previously, we stored clothes in holdalls, but now, everything is neatly organized in small zippered compartments—perfect for our revised storage layout.
- 🚐 Raised Bed Storage: This has been a huge win. The additional space beneath the bed has allowed us to keep tools, gas bottles, a broken AC pump, inflatable kayak, bodyboard, and solar equipment all neatly tucked away, making the habitation area much more spacious.
Garage Storage Area: A Big Win
One of the best aspects of the new design is the storage area beneath the raised bed. Thanks to our factory high-top roof and twin barn doors, this space is highly accessible and incredibly efficient. Here’s how we’ve utilized it:
- Four Euro crates for organized storage
- Kayak, paddles, and skateboards neatly stowed
- Barbecue, tools, electrical gear, and recovery equipment
- Two new camp chairs—standing vertically for efficient use of space
- Wheel ramps tucked away neatly behind the chairs
This setup has allowed us to keep the living area clutter-free, making it easier to pack up quickly when needed.
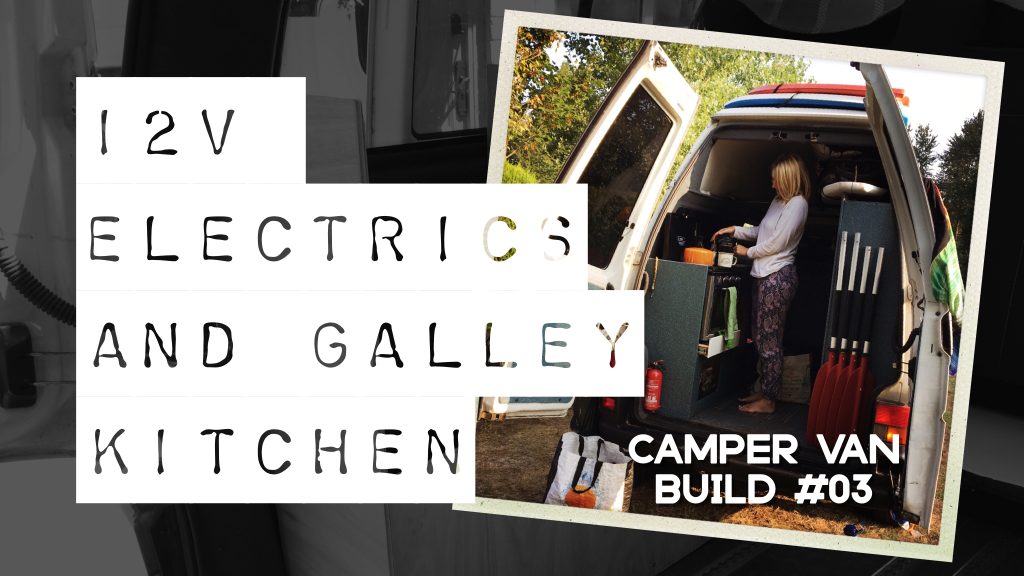
Living Area & Kitchen Setup
Inside the van, things have worked out even better than expected:
- Fridge/Freezer: Our 55L fridge has been a game-changer, keeping food fresh for 3-4 days. It will eventually be powered by the solar panels, once the electrics are finalized.
- Cooker Setup: Super convenient, easy to access, and makes morning coffee a breeze.
- Swivel Seat: Though we didn’t use it much on this trip, the rotating passenger seat offers additional seating when needed.
- Toilet & Storage: The long drawer system provides ample storage for cutlery, cleaning products, and other essentials.
Final Thoughts & What’s Next?
Overall, the van has been comfortable and practical, allowing us to visit the North Sea, the Mediterranean, and the Atlantic—all while keeping our itinerary intact. A few final thoughts:
✅ Cruise control and driving comfort have been excellent.
✅ New storage system keeps the living area clutter-free.
✅ Solar panels (with wind deflector) have been great but need full testing.
✅ Seating needs improvement for additional passengers.
✅ Future upgrade: Finish the electrics so the fridge can run off solar.
We’re thrilled with the upgrades and can’t wait to refine them further. Thanks for following along—don’t forget to like, subscribe, and stay tuned for more Wonder Wagon adventures! 🚐🌍🏕
Happy travels! 🎉