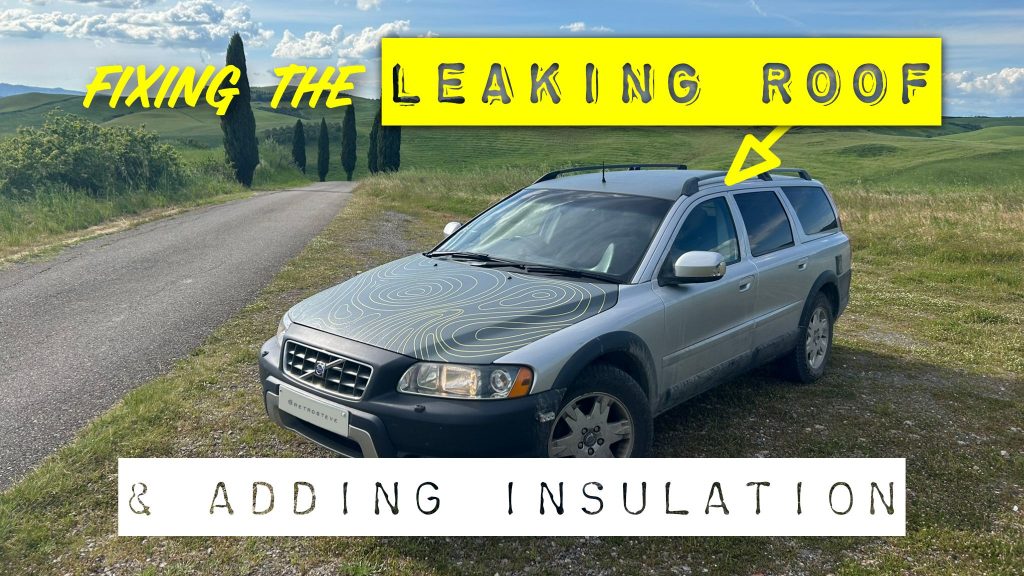
Volvo XC70 Ex-Ambulance Transformation: Fixing a Leaky Roof & Improving Soundproofing
Welcome back to my Volvo XC70 ex-ambulance transformation series! If you’ve been following along, you’ll know that I’ve tackled a range of mechanical fixes, got the car through its MOT test, and even revamped the big yellow bonnet with a stylish overlanding graphic.
In this episode, I’m addressing a major issue that’s been plaguing the build: a leaking roof.
The Problem: Water Ingress & Soaked Headlining
When I removed the headlining, I discovered just how wet the interior was. Yes, condensation is normal in vehicles, but this was something else. The vibration damping material inside the roof was completely saturated, and the headlining itself was soaked through.
The culprit? The holes left from the ambulance’s sirens and lights. These holes had been plugged, but over time, they started leaking.
The Initial Fix: Raptor Paint & Drying Out the Interior
To seal these leaks, I painted the roof with Raptor paint. This helped close up any gaps where water could sneak in. I then removed the headlining and let it dry for several weeks to ensure all moisture was gone before reinstalling it.
While working on the roof, I also got a closer look at the curtain airbag system, which runs down both sides of the car. This was a good reminder that when working near airbags, it’s always a good idea to disconnect the battery to avoid any mishaps.
Removing the Headlining: What You Need to Know
If you’re attempting this yourself, here’s a quick rundown of what needs to come out:
✅ Dog guard – Held in by two 13mm bolts
✅ Side trim at the back
✅ A-pillar trim pieces at the front
✅ Small trim pieces on the B-pillars
The good news? The wiring stays in place, as it’s only glued to the headlining. But when reinstalling the trim, it’s crucial to make sure it doesn’t interfere with the airbag deployment system.
Testing the Repairs & Drying the Headlining
After a couple of weeks of rain, I checked the roof… and no more leaks! 🎉 The headlining had been drying out in my house, much to my wife’s dismay (a dining table is apparently not meant for car parts… who knew?).
With the leaks fixed, it was time to reinstall the headlining—but before that, I wanted to take things a step further.
Upgrading the Roof: Sound Deadening & Insulation
Before putting the headlining back in, I decided to add extra sound deadening to improve the acoustics inside the car. This was inspired by my camper van build, where proper insulation made a huge difference in reducing road noise.
I installed 10mm thick adhesive insulation on top of the factory sound deadening. This should:
🔇 Make the cabin quieter on long drives
🌡 Improve temperature regulation in both hot and cold weather
Reinstalling the Headlining (With Some Frustration)
With the insulation in place, it was time to reassemble everything. As always, the process of reinstalling parts was the reverse of removal—except for one pesky sensor.
To the engineer who designed this sensor placement, I have one question:
👉 How exactly did you think people would reinstall this easily?
Dear Engineer, I formally invite you to come and fit this sensor yourself! 😅
Final Thoughts & What’s Next
The leak is fixed, the soundproofing is improved, and the headlining is back in place. This was a major step in transforming the ex-ambulance into a comfortable and functional overlanding vehicle.
Next up? More modifications and upgrades to get this XC70 adventure-ready!
🚗 Like this build? Subscribe and stay tuned for the next update!
💬 Got any questions or tips for soundproofing and insulation? Drop them in the comments!
Catch you in the next one! 👋🚙💨