
If you’re noticing wear on your serpentine belt in a PT Cruiser 2.2 CRD diesel, it’s time for a replacement. Unlike the petrol models (2.0L and 2.4L), the diesel version has a timing chain instead of a timing belt, so the serpentine belt is one of the most crucial belts to maintain. Here’s a step-by-step guide to replacing it.
What You’ll Need
Tools & Equipment:
✅ 10mm and 7mm sockets ✅ 14mm ring spanner ✅ 26mm ring spanner (for extra leverage) ✅ Pry bar ✅ Torque wrench ✅ Penetrating oil (WD-40 or similar) ✅ Dish soap (like Fairy Liquid) for lubrication ✅ Jack and jack stands
Replacement Part:
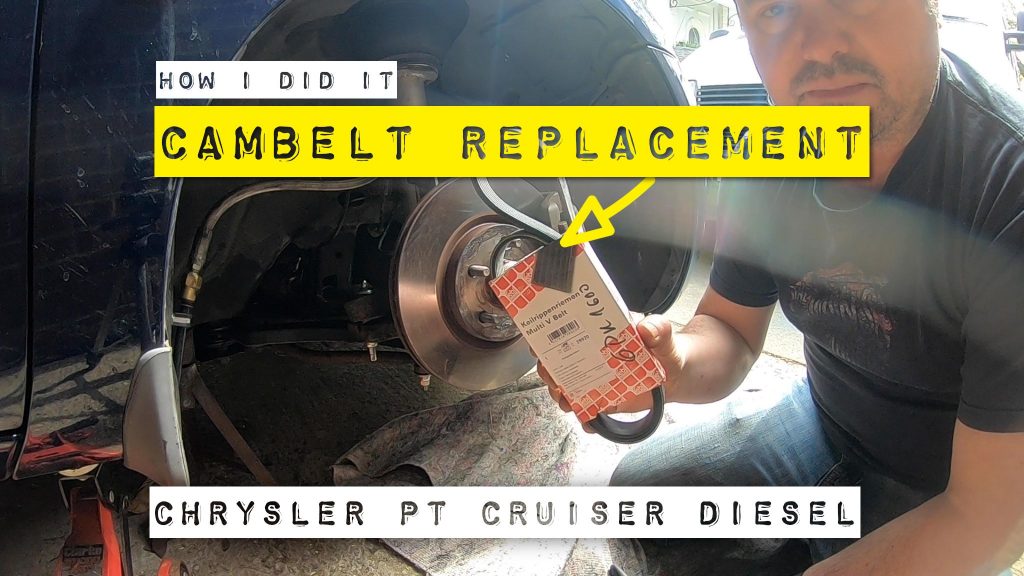
✅ New serpentine belt (e.g., Dayco – Check part number for your specific model)
Step 1: Gaining Access to the Belt
1️⃣ Raise the vehicle securely on jack stands. 2️⃣ Remove the undertray if still installed (this provides better access to the belt and pulleys). 3️⃣ Remove the right-hand side plastic trim panel, secured with:
- Two 10mm bolts
- One 7mm screw 4️⃣ Once removed, you’ll see the lower engine mount and the camshaft pulley.
Step 2: Identifying the Belt Path
The serpentine belt wraps around multiple pulleys, including:
- Camshaft pulley
- Alternator (topmost pulley)
- Power steering pump
- Air conditioning pump
- Water pump
- Crankshaft pulley
- Tensioner pulley (which maintains belt tension)
Step 3: Releasing Belt Tension
1️⃣ Locate the belt tensioner behind the plastic trim. 2️⃣ Identify the 14mm bolt on top of the tensioner. 3️⃣ Use a 14mm ring spanner on the bolt and apply leverage with a 26mm ring spanner or a pry bar. 4️⃣ Move the tensioner upwards to release tension on the belt. 5️⃣ Slide the old belt off while maintaining pressure on the tensioner.
💡 Pro Tip: Using a pry bar directly on the tensioner can work, but you’ll struggle to install the new belt unless you use the correct leverage method.
Step 4: Installing the New Belt
1️⃣ Thread the new belt from the top, wrapping it around the alternator pulley first. 2️⃣ Guide it around the crankshaft pulley, water pump, and air conditioning pump. 3️⃣ Ensure the belt is seated correctly on all pulleys except the tensioner pulley. 4️⃣ Apply a small amount of dish soap (Fairy Liquid) to the tensioner pulley for lubrication. 5️⃣ Use the 14mm ring spanner and leverage tool to recompress the tensioner. 6️⃣ Slip the belt onto the tensioner pulley while holding the tensioner in place. 7️⃣ Slowly release the tensioner so that it applies proper tension to the new belt.
Step 5: Final Checks & Reassembly
✔️ Visually inspect the belt routing to ensure it’s correctly seated. ✔️ Rotate the engine manually a few times (with a ratchet on the crankshaft bolt) to ensure proper alignment. ✔️ Reinstall the plastic trim panel and any other removed parts. ✔️ Start the engine and check for any squeaking or misalignment.
Conclusion
Replacing the serpentine belt on the PT Cruiser 2.2 CRD diesel isn’t too difficult, but gaining access and applying tension correctly is key. With the right tools and technique, you can avoid costly mechanic fees and ensure your engine runs smoothly.
💡 Helpful Tip: Save this guide for future reference or share it with other PT Cruiser diesel owners!
🚗 Enjoyed this guide? Give it a thumbs up, subscribe for more DIY car tips, and happy wrenching!


